A ceiling light cover can add a great look to your home, but it can also make changing the bulb inside of it complicated if you need to learn how to safely and quickly remove it. This blog post will provide step-by-step instructions on how to safely and quickly remove different types of ceiling light covers. It will also give some helpful tips for replacing a ceiling light cover. So let’s get started!
Types of Ceiling Light Covers
The type of ceiling light cover you have will determine the best way to safely and quickly remove it. Generally, there are three types of light covers: ones with a screw, ones without screws, and those with clips. Depending on the type of light cover you have, either a screwdriver or pliers may be necessary for removal.
Light Covers that Have a Screw
Light covers with a screw often come with a small slot in the side for a flathead screwdriver.
Light Covers without Screws
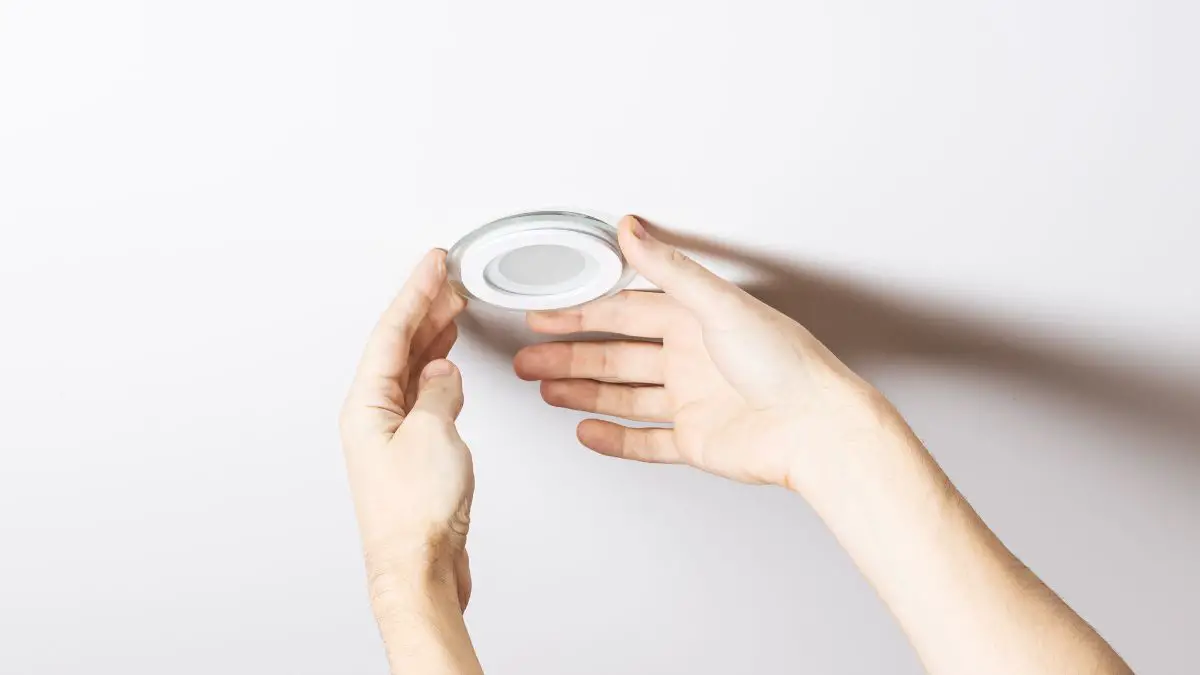
Light covers without screws often have a ring around the cover that can be pulled off. However, be careful as these light covers are usually made of plastic or glass and can break easily.
Light Covers with Clips
Light covers with clips are often found in bathroom, kitchen, or hallway ceiling lights. These light covers generally have a thin frame that attaches to the ceiling via four clips around its outer edge.
What You Will Need
- Sturdy ladder or step stool
- Flashlight or headlamp
- Screwdriver (Philips or flathead)
How to Remove a Ceiling Light Cover
With Screws
- Turn off the power leading to the light fixture from the breaker box or wall switch
- Place a sturdy ladder or step stool beneath the light cover
- Hold the light fixture with one hand and unscrew the knob with your other hand
- Use a flashlight or headlamp to locate and remove any screws on the ceiling light cover with a screwdriver
- There may or may not be a washer, so keep a look out for it. If you end up finding one, remove it.
- Carefully set aside any screws and carefully lift off the light cover
Without Screws
- Turn off the power leading to the light fixture from the breaker box or wall switch
- Place a sturdy ladder or step stool beneath the light cover
- Look around the perimeter of the ceiling light cover for clips, latches, spring clips, etc., that hold it in place
- Carefully squeeze, depress or twist the clips to release them, and carefully lift off the light cover
With Clips
- Turn off the power leading to the light fixture from the breaker box or wall switch.
- Place a sturdy ladder or step stool beneath the light cover.
- Look around the perimeter of the ceiling light cover for clips, latches, spring clips, etc., that hold it in place.
- Use a flashlight or headlamp to locate the clips. Gently push up on the clip while simultaneously pulling down on the light cover.
- Carefully remove any screws and carefully lift off the light cover.
Tips for Replacing a Ceiling Light Cover
- Make sure the new cover is the same size and shape as the old one
- Use the same type of screw or clip that was used to initially secure the ceiling light cover
- Read all instructions carefully before attempting to install the new ceiling light cover
- Always wear safety glasses for protection when working with electrical wiring or fixtures
Final Thoughts
Replacing a ceiling light cover can be a quick and easy job as long as you follow the proper steps. Be sure to turn off the power before attempting any repair or replacement, use the right tools for the job, and carefully read instructions beforehand. With patience and due diligence, anyone can safely and quickly replace a ceiling light cover without any problems. Finally, wear safety glasses while working with electrical wiring or fixtures to protect your eyesight in case of accidents.