Do you have a leaky shower? If so, you’re not alone! Many people struggle with shower leaks, which can be pretty frustrating. Not only do they cause water damage, but they can also be difficult to track down and fix. The good news is that you can do a few things to prevent it from happening in the first place.
This blog post will show you how to identify and fix a shower leak without removing tiles. We’ll also share some tips on how to prevent shower leaks from happening in the future. So, if you’re dealing with a leaking shower, you can just read on for some helpful advice.
Why a Shower Leak Can Occur
Here are some of the most common reasons for leaky showers:
Faulty Sealant
A faulty sealant around the shower door or bathtub can degrade over time, allowing water to seep through and creating a damp area on the floor outside the shower.
Shower Head Issues
A leaky shower valve can happen if the valve is not sealed correctly or the washer or packing nut is loose. In some cases, a shower leak may be caused by a crack in the plumbing pipes. These cracks can occur due to corrosion, freezing, thawing, or settling of the house foundation.
Damaged Shower Pan
A leak in the shower pan is the waterproof liner that sits under the shower floor. If the pan is cracked or damaged, water can start to seep through, causing problems.
Cracked Tile
While tile is generally waterproof, a crack can allow water to seep through and pool on the floor beneath.
Plumbing Issues
If there is a loose connection or a break in the pipes, water can start to escape, leading to a leak. If you notice any signs of a leak, it’s important to repair it as soon as possible to avoid damage to your flooring or walls.
How to Identify a Shower Leak
A shower leak can be a real pain. Fortunately, a few telltale signs can help you identify a shower leak.
- Take a look at your shower head. If water is dripping from the head, you likely have a problem with your shower diverter.
- Water is pooling on the floor outside the shower. This can be caused by several problems, including cracked tile or faulty sealant.
- If you notice mold or mildew anywhere in your bathroom, it could be a sign that water is leaking into the walls or floor.
- Another sign to look for is peeling paint or wallpaper near the shower.
How to Fix a Shower Leak Without Removing Tiles
Identify the Source of the Leak
Before attempting any repairs, you should inspect your shower to determine where the leak is coming from. Refer to the section above on how to identify a shower leak.
Seal the Shower Door or Bathtub and Wall Joints
Once you have identified where the water is leaking from, it’s time to begin repairs. You can use silicone caulk to seal any gaps between the shower door or bathtub, and the wall joints.
Start by cleaning any dirt, grime, and soap scum off the shower door or bathtub’s edges. Then, using a caulk gun, apply the sealant around the edges of the shower door or bathtub. Allow the sealant to dry for at least 24 hours before testing it with a bit of water.
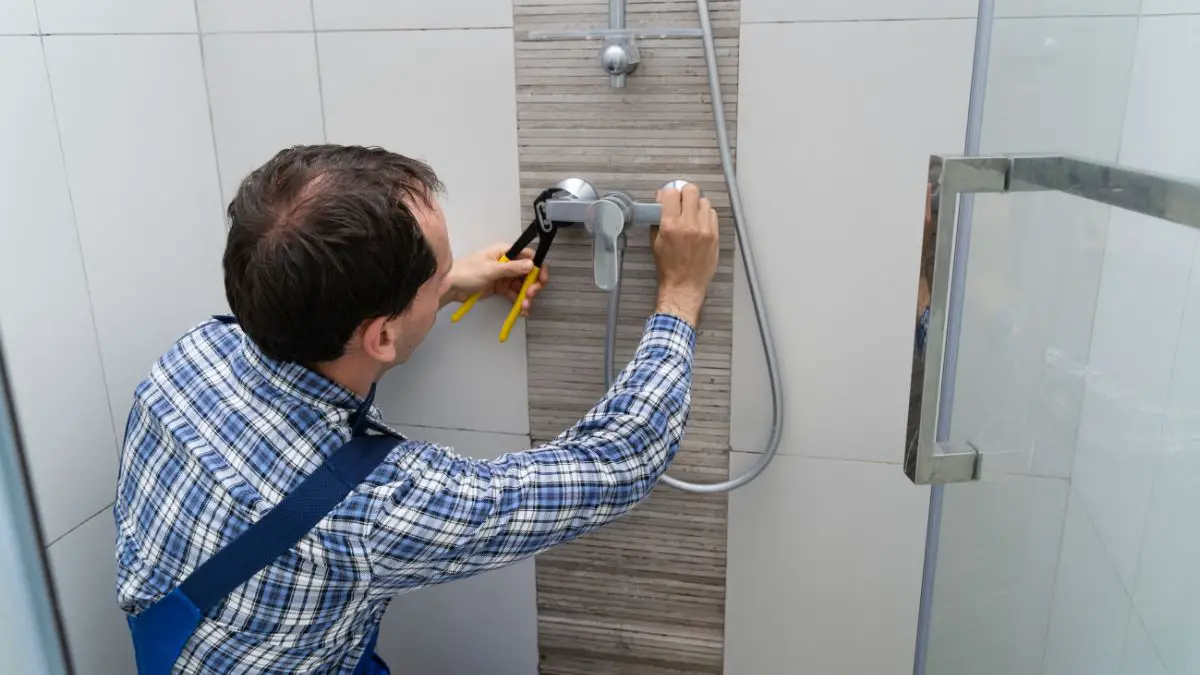
Repair the Shower Head and Valve
If your shower leak is coming from the shower head or valve, you should look at replacing these. To do this, turn off the water supply and close the shower door or tub. Then, unscrew the packing nut with a wrench, replace any washers that are worn out, and then reinstall the nut. Tighten it firmly, but not too tight, to create a water-tight seal.
Seal the Shower Pan and Floor Edges
Another common cause of shower leaks is a damaged or cracked shower pan. If this is the case, you can seal any cracks with silicone caulk or a repair kit. You may also need to seal the edges of the tiles at the shower floor with silicone caulk to prevent water from seeping through.
Apply Grout or Caulk Around Shower Tiles
Finally, you can apply grout or caulk around the edges of your shower tiles to create a waterproof barrier. Be sure to allow the grout or caulk to fully dry before using your shower again.
How to Prevent Shower Leaks from Occurring in the Future
First, make sure that your shower is properly sealed. This helps to prevent water from seeping through any cracks or gaps. Then, check the caulking around your shower regularly, and replace it if it starts to degrade. Finally, remember to test your shower periodically by turning it on and letting it run for a few minutes.
Final Thoughts
Shower leaks can be a real pain, but luckily, they’re usually relatively easy to fix. Following this blog post’s tips, you can quickly and easily repair a leaky shower. And by taking some preventative measures, you can help to ensure that your shower stays leak-free for years to come.